Activity 1
| |
There are a few conventions we need to follow when creating a .kv file.
Naming: The name of your .kv file must follow the rules below in order for python/kivy to be able to see and load the file.
- It must be all lowercase
- It must match with the name of your main class. (The one that has the build method)
- If the name of your main class ends in “app” (lowercase or uppercase) you must not include “app” in your file name.
File Location: The file must be in the same directory as your python script.
File Extension: The file must be saved as type *All Files and end with .kv
For example:
My main classes name is MyApp. Therefore I will name my file my.kv.
<MyGrid>:

    GridLayout:
        cols:1
        size: root.width, root.height

        GridLayout:
            cols:2
            Label:
                text: "Name: "

            TextInput:
                multinline:False

        Button:
            text:"Submit"
            on_press: root.btn()
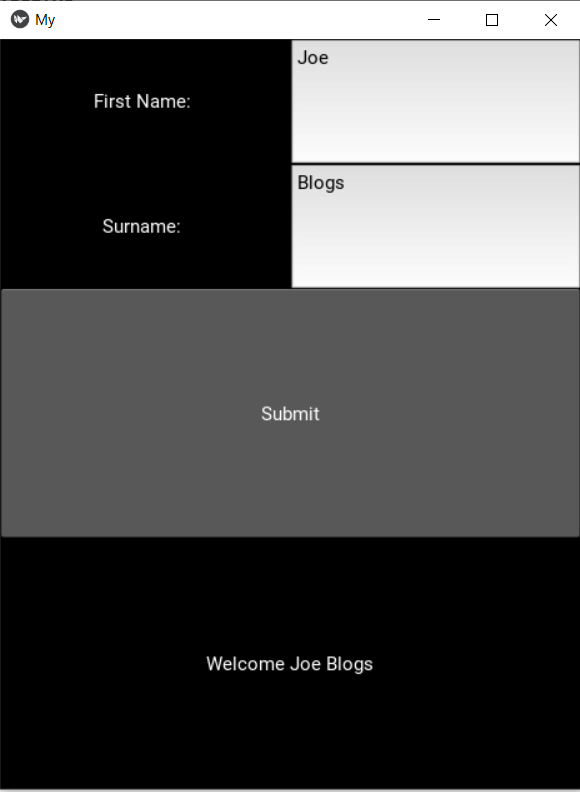
- Add a Surname Label and TextInput so when the user presses the submit button the surname is also included.
- Add a Label that welcomes the user when submit is pressed