DriveBase
adapted from PyBricks
Having to control the two motors independently to move our vehicle would involve figuring out a lot of maths ourselves, which would be annoying, time-consuming and error-prone.
Instead, we can use the DriveBase class to make driving our robot around a lot simpler.
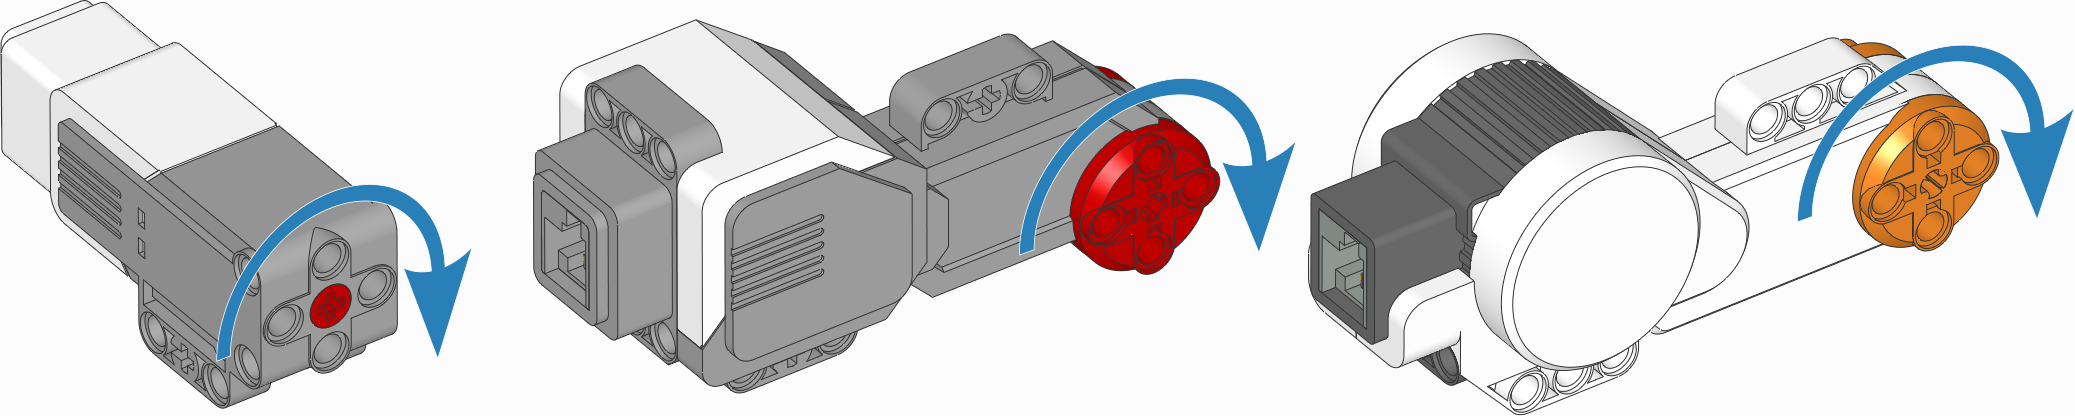
EV3-compatible motors. Arrows indicate the default positive direction.
Import
We also need to import the code for the Motor.
from pybricks.ev3devices import Motor
from pybricks.robotics import DriveBase
Setup
We also need to initialize the motors:
# Initialize the motors.
left_motor = Motor(Port.B)
right_motor = Motor(Port.C)

# Initialize the drive base.
robot = DriveBase(left_motor, right_motor, wheel_diameter=55.5, axle_track=104)
By specifying the dimensions of your robot, this class makes it easy to drive a given distance in millimeters or turn by a given number of degrees.
Positive distances, radii, or drive speeds mean driving forward. Negative means backward.
Positive angles and turn rates mean turning right. Negative means left. So when viewed from the top, positive means clockwise and negative means counterclockwise.
Parameters:
left_motor, the motor that drives the left wheel.right_motor, the motor that drives the right wheel.wheel_diameter, diameter of the wheels in millimetres (mm).axle_track, distance between the points where the left and right wheels touch the ground, in millimetres (mm).
Functions
Driving in the foreground
The following functions operate in the foreground, meaning that the robot will drive a given distance, or turn by a given angle, then stop, and then move on to the next instruction. The distance/angle travelled is measured using the rotation sensors in the motor units. Because wheels may slip while moving, the travelled distance and angle are only estimates.
straight(distance)
Drives straight for a given distance and then stops.
Parameters:
distance, distance to travel in millimetres (mm).
turn(angle)
Turns in place by a given angle and then stops.
Parameters:
angle, angle to turn in degrees (°).
curve(radius, angle)
Drives an arc along a circle of a given radius, by a given angle.
Parameters: radius (dimension: mm) – Radius of the circle. angle (angle: deg) – Angle along the circle.
Driving in the background
If you want the robot to do things while it is driving (for
example, check on the values of sensors), you need to use the
drive() function. Unlike the ones above, this will start the
wheels turning, and then immediately move on to the next
instruction, while the wheels remain turning. They will keep
travelling in the same way unless another movement instruction
or a stop() instruction is given.
drive(drive_speed, turn_rate)
Starts driving at the specified speed and turn rate. Both values are measured at the center point between the wheels of the robot. It keeps going until you use stop() or change course by using drive() again. For example, you can drive until a sensor is triggered and then stop or turn around.
Parameters:
drive_speed, speed of the robot in millimetres per second (mm/s).turn_rate, turn rate of the robot in degrees per second (°/s).
stop()
Stops the robot by letting the motors spin freely.
Example
# Go forward and backwards for one metre.
robot.straight(1000)
robot.straight(-1000)

# Turn clockwise by 360 degrees and back again.
robot.turn(360)
robot.turn(-360)